DIY Tile: What to Expect
DIY Tiling: What to Expect and When to Call a Pro
There’s nothing quite like tile to transform a space—it’s easy to clean, durable, has a premium look and feel, and the design combinations are endless. If you’re thinking about a new shower, a backsplash, or a new mudroom floor, DIY can be immensely rewarding and save you thousands! However, tile is hard work and there’s nothing more devastating than having a work of love start to crack or leak mere months after you’ve hung up the tool belt. Here’s a brief overview of what you’d be getting into with your project, and whether you should consider calling a pro instead.
1. Prep Is Everything Laying tile isn’t just about sticking squares to a surface. You’ll need to ensure the subfloor or wall is structurally sound, level, and clean. If your subfloor is undamaged and structurally robust enough to support tile, you’ll need to choose your preferred tile substrate. Today, the industry standard is crack isolation membrane, such as Schluter Ditra or Latricrete Stratamat. This will prevent cracks on concrete floors from spreading to your new tile, and isolate tile installed over wood from the expansion and contraction inherent to wood construction. However, if you’re trying to increase the height of your floor, a cement board such as durock or hardie board can be used as well. Some projects, like backsplashes, probably require a lot less prep. For a backsplash, a flat, clean drywall or painted surface will be enough for a long lasting and beautiful installation. Showers, however, will require a lot more legwork to do your prep properly. There’s always a lot of risk when installing a DIY shower, and while modern waterproofing systems from Schluter, Wedi or Laticrete make it easier to do properly than in the past, a missed step or an improvised solution could cost you tens of thousands, and often your insurance won’t cover the error! I always recommend hiring a professional to at least install your waterproofing, or even better handle the tile installation side from start to finish. If you do want to attempt a shower remodel by yourself, all of these methods have exact rules that should be followed when installed, so do your research and contact manufacturers for help!
2. Tools & Materials You’ll Need Think tile cutter (wet saw or manual snap cutter), trowels, spacers, level, thinset mortar, grout, grout floats, and sponges. These are the very basic tools you’ll need to do any installation, and if this sounds like a lot—it is. But renting or borrowing tools can keep costs down, and Home Depot or Lowes offer tool rentals for those who just need a saw for week instead of coughing up hundreds for a professional tool. For many of the other tools on your list, they can be had for a couple hundred dollars, but don’t cheap out on the saw! A cheap tabletop saw, unless you’re making a few simple cuts with small tiles, will be difficult to use and likely make poor quality cuts. A sliding tray saw, such as a Rigid R4030S, will make your job much easier without breaking the bank on a professional grade saw that can easily cost over 1000$. The other two most important components are your thinset and your grout. For the vast majority of projects, using a modified, general purpose mortar such as Latricrete’s Trilite or Schluter’s Allset will serve you best. You can use this mortar for any type of tile: glass, porcelain, ceramic or stone, and has excellent adhesion and shear strength. For grout, don’t cheap out on the DIY grade grouts. Most capable grouts cost about 30$ to 80$, and have better stain resistance, hardness, and are much easier to work with, as long as you follow the instructions carefully! Consider options such as Mapei Ultracolor Plus FA, Custom’s Prism, or Tec Power Grout.
3. The Learning Curve Even simple layouts require measuring, cutting, and careful planning. Mistakes (and tile casualties) are part of the journey, so patience is key. YouTube will be your best friend, and practicing on a small area first is smart. You’ll need to start with laying out your tile to make sure you don’t end up with unexpected sliver tiles. Plan out, ideally on paper, where you’ll start, how the tiles will meet up in the corners, how many cuts you’ll have and what the most difficult notch cuts will be. Visualizing how the project will proceed is key, because you don’t want to have to change your game plan when you’re covered in tile dust and while your thinset is slowly setting in your bucket. Ideally, try to block out as much time as possible to work on the project without interruptions. Having to mix new thinset, set up your saw, and collect all your tools every single time you get back to installing will eat up a lot of your time and can dramatically lengthen the work time. Taking a long weekend to devote to your first tile project is probably the minimum, and if you’re doing a bathroom remodel, you’ll want as much free time as you can possibly set aside. It’s difficult to do tile as an evening warrior! Lastly, expect some mistakes along the way. It can be frustrating when an idealist view of a project collides with the dirty work that tiling can often be. Don’t expect perfection and try to enjoy the process! Tiling can be very rewarding, so take time to appreciate your progress as you go.
4. Time Commitment DIY tiling is rarely a one-day project. Between drying times for thinset and grout, expect to spend several days to a couple weeks from start to finish—especially if it’s your first rodeo. The smallest and fastest projects are backsplashes with no waterproofing, floors take a bit longer, and showers and tubs are the longest and require the most care.
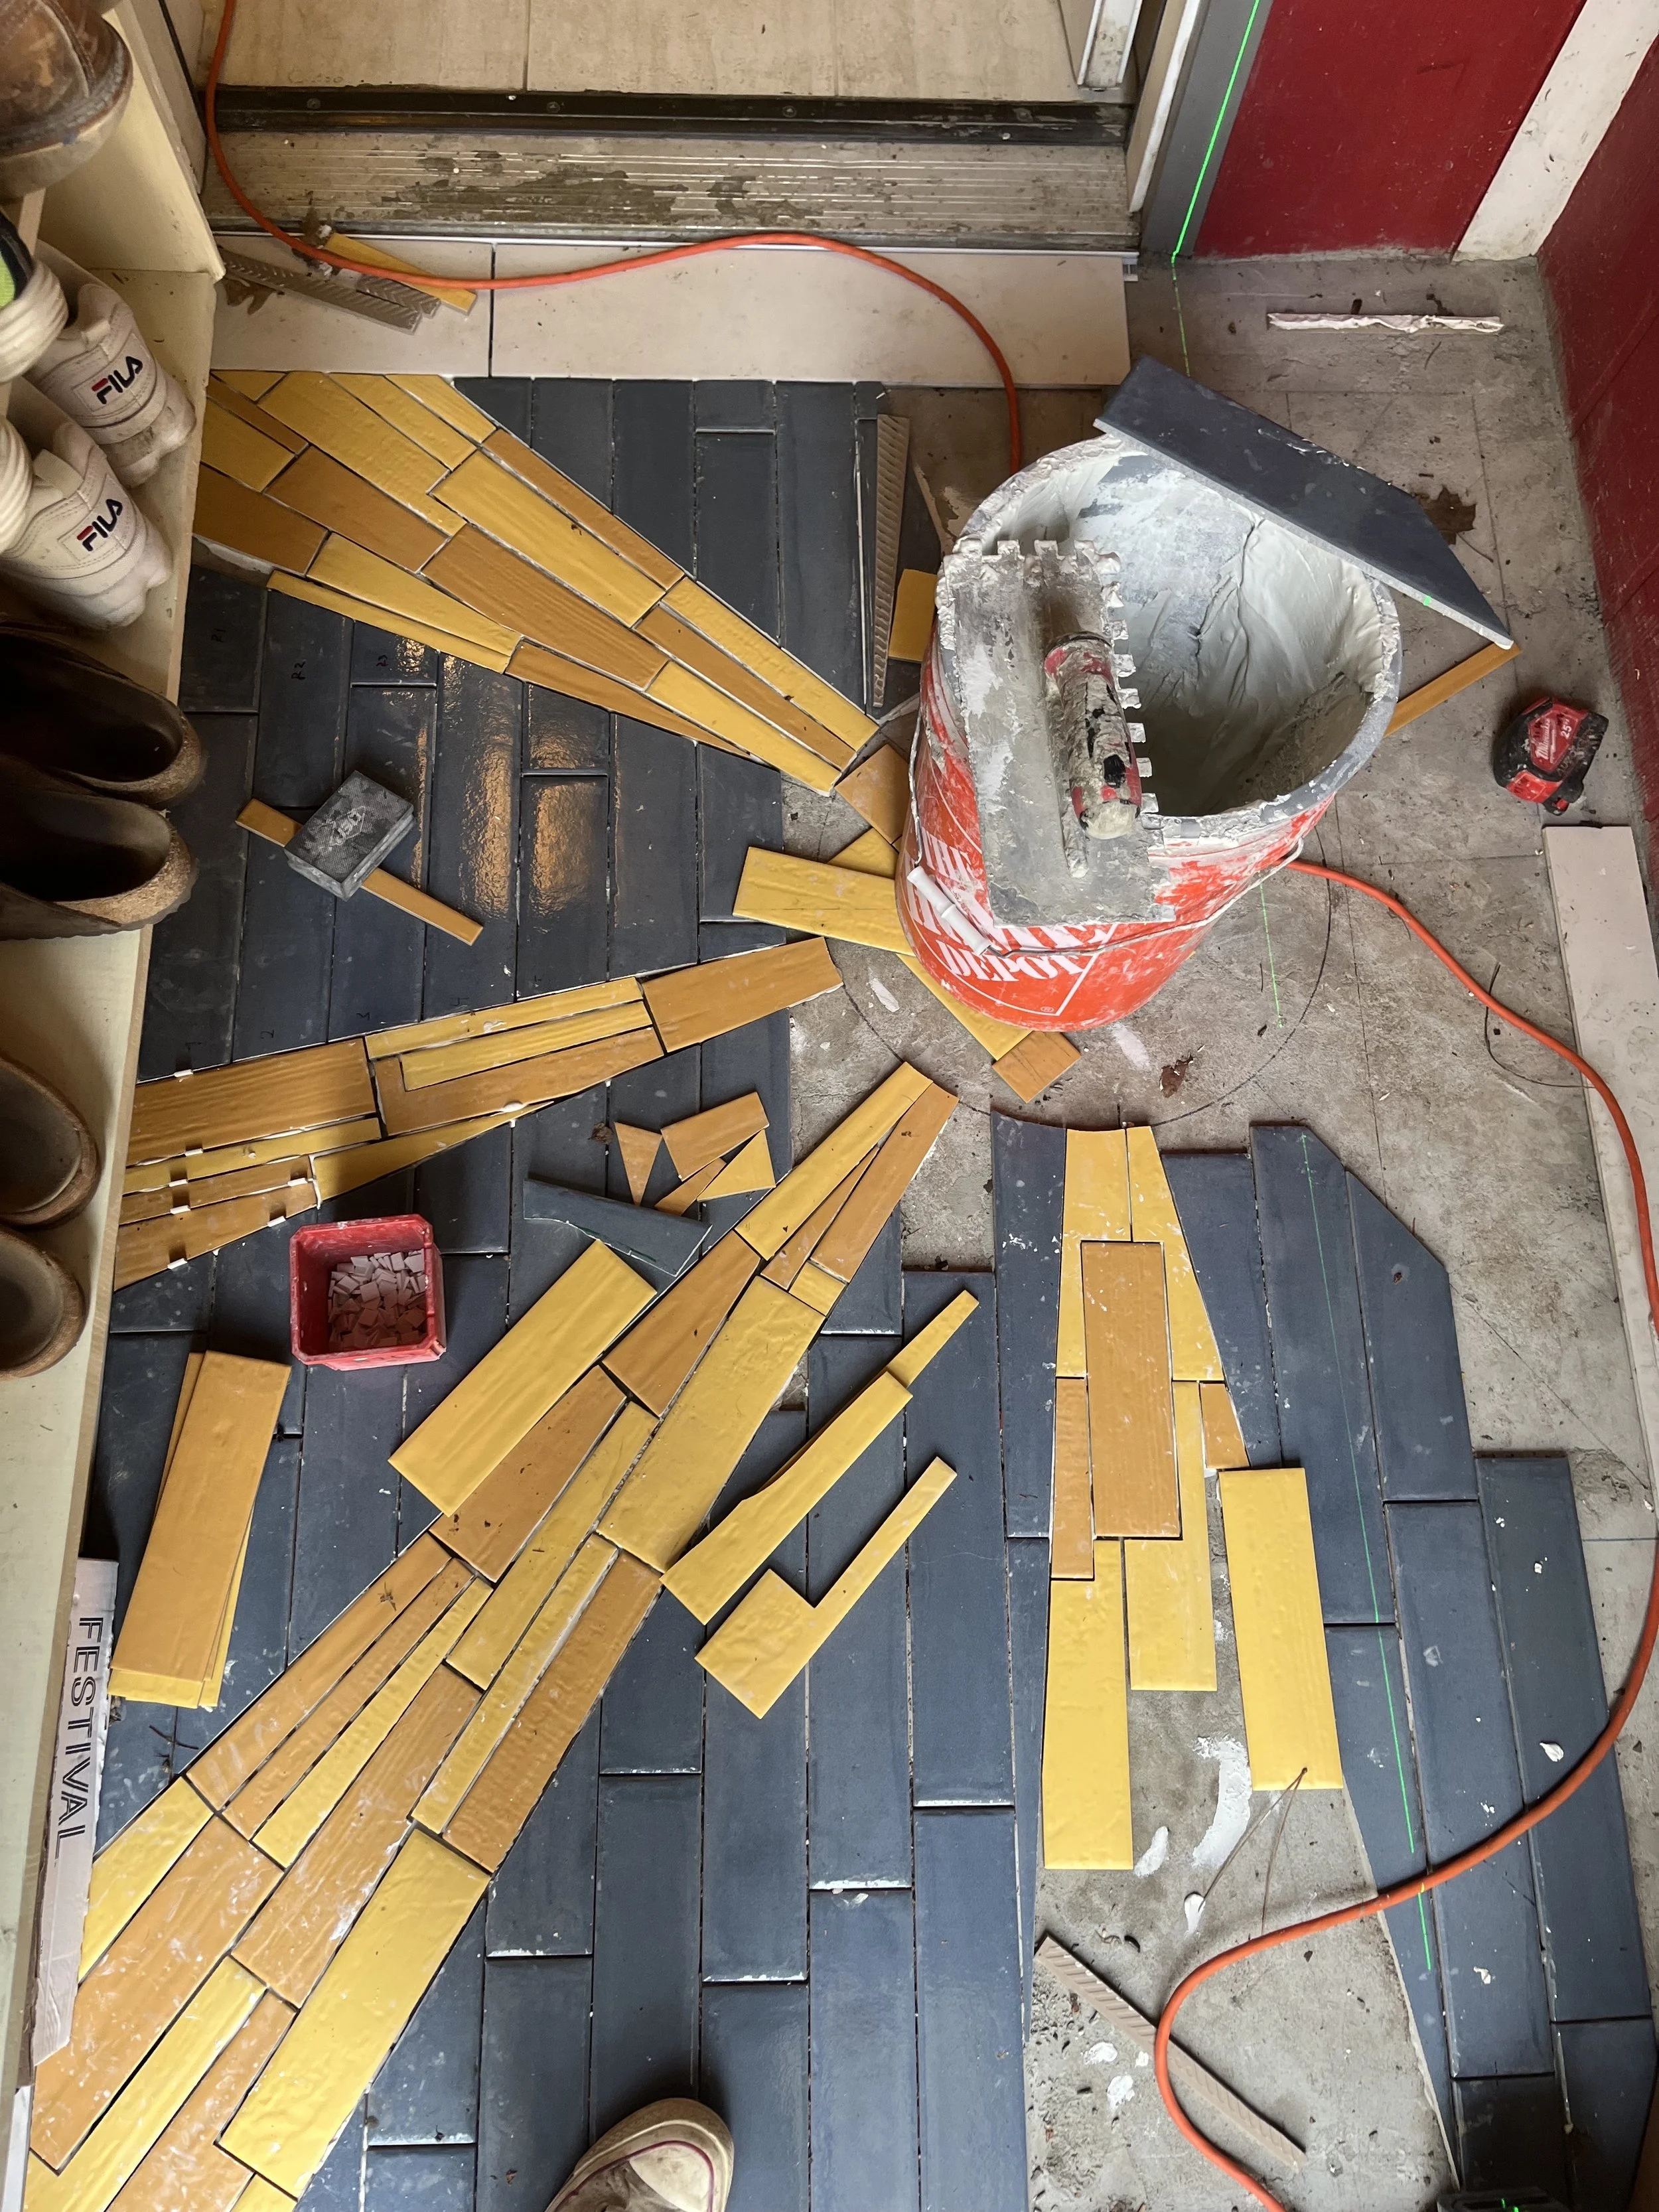
5. The Mess Factor Be ready for dust, debris, and lots of cleanup. Tiling is a hands-on, get-a-little-dirty (or a lot) process that can test your stamina. Make sure you have a good shop vac, and ideally a couple dust masks. If you’re working around finished floors, then adequate floor covering from your worksite to your mixing and cutting areas is a must, whether ramboard or heavy duty drop cloths (used sheets are not enough, as small hardened bits of mortar can easily scratch floor through them). A thorough clean up at regular intervals in a working day can prolong the life of your tools, lower the visual stress and clutter, and be a good chance to assess and make sure you’re not making some obvious mistakes. For your first go around, expect to get your clothes and hands dirty, and always keep a bucket with clean water around for wiping up tiles and cleaning out grout joints before the thinset sets in them.
So there you are! A short intro to what you’ll need, prep you should absolutely know, and how long it may take you. If it sounds a little daunting, then give us a call and at least get a ballpark idea of how much this might cost to hire out. If you’re still game, the internet is your best friend! There are many high quality tutorials on youtube especially, and r/tile or reddit has many responsive pros happy to give you guidance and pointers. Make sure you plan carefully, because the only thing harder than installing tile is replacing it!